Get ingredients:
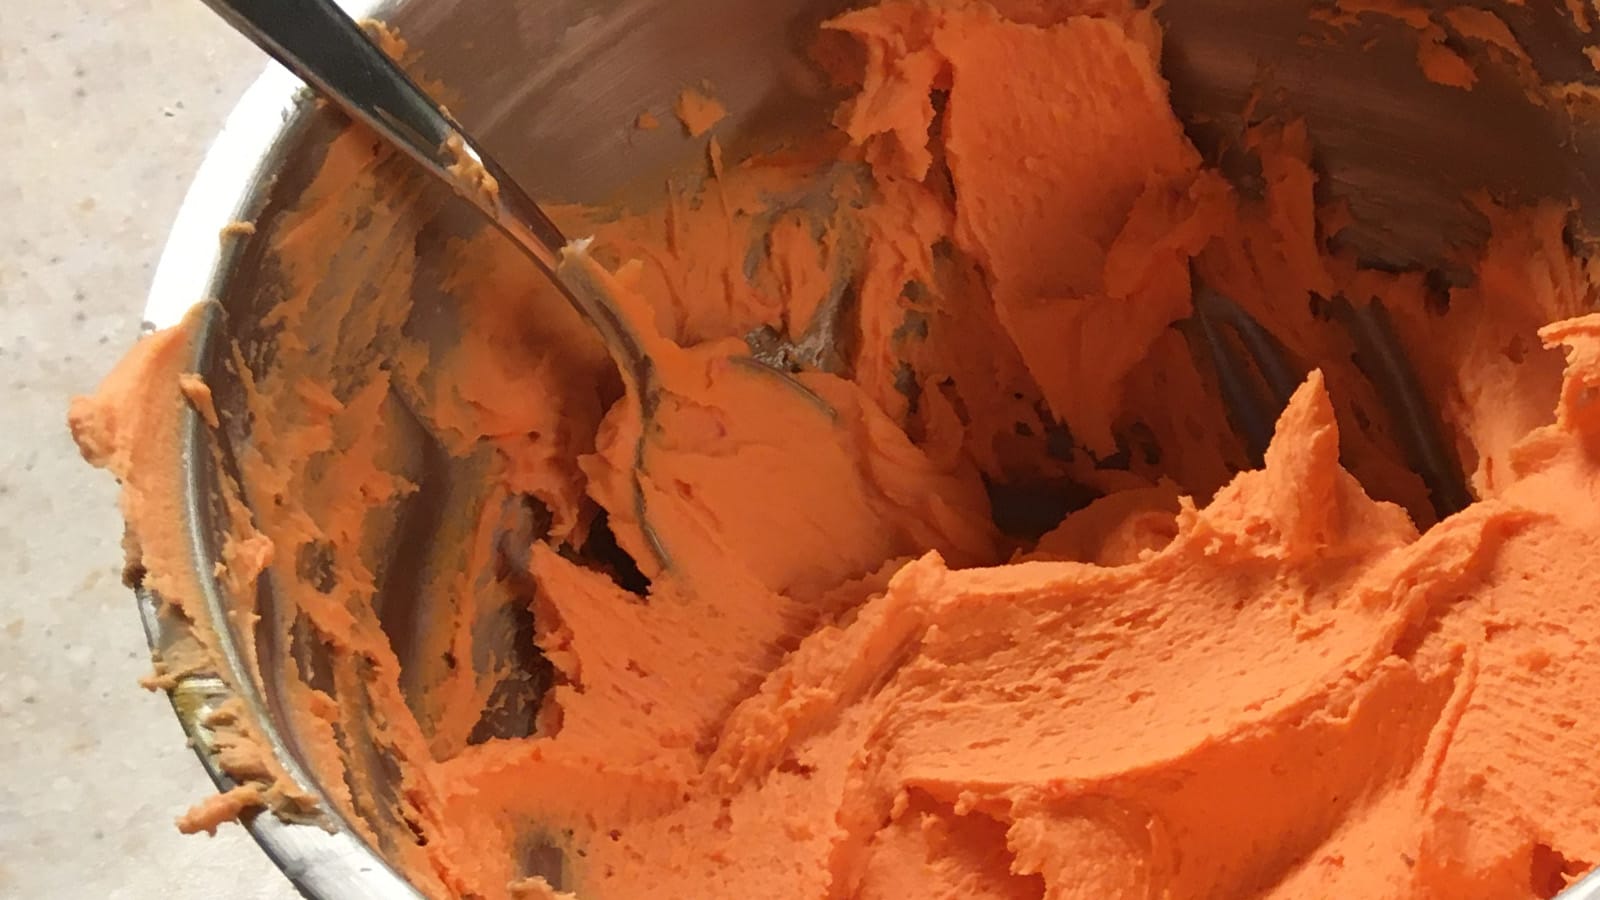
227 g (1 cup ) butter (unsalted, room temperature, 65-70° F / 18-21° C)31 g (1/8 cup ) milk (room temperature)413 g (3 3/4 cups ) icing sugar1 g (1/4 tsp ) kosher salt8 g (2 tsp ) vanilla, almond, lemon, or other extractstand mixer mixing bowl (large, 2 litres ) sifter spatula food colouring (optional) Attach the paddle to the stand mixer. Add to stand mixer bowl:
227 g (1 cup ) butter (chopped into about 8 pieces )Mix on medium-high speed until smooth (about 7 minutes ). Sift into large mixing bowl:
413 g (3 3/4 cups ) icing sugarSet stand mixer to low speed. Add the dry ingredients to the stand mixer bowl, 1/4 at a time.
Mix each addition just until the sugar disappears. Scrape down the sides after each addition. Add to stand mixer bowl:
8 g (2 tsp ) vanilla, almond, lemon, or other extract31 g (1/8 cup ) milk1 g (1/4 tsp ) kosher saltFor a thinner consistency (best for covering a cake smoothly and piping text), add another 15 g (1 tbsp ) milk. Mix on low speed until uniform (about 30-60 seconds ). Optionally, add food colouring while the icing is still in the stand mixer bowl. Mix with the stand mixer or stir with a spoon until consistent.
Assembling a cake
Get tools:
cake round (optional) cake turntable offset spatula piping bag (if the cake will have a filling) 1/2-inch piping tip (eg. Wilton 1A) (or no tip) paper towel (optional) parchment paper (optional) If you are assembling the cake on a cake turntable and planning to transfer the cake to a box/stand/plate later:
Optionally, place a slightly damp paper towel on top of the cake turntable.
This will help the cardboard cake round stay in place. Optionally, place a cardboard cake round on top of the paper towel.
The cake round will make it easier to move the cake from the turntable. If the cake round is the bigger than the cake pan, it will be easier to move the cake, but it doesn't look as nice. If the cake round is the same size as the cake pan, it will be harder to move, but you won't be able to see the cake round. Optionally, swipe about 1-2 tsp of icing across the top of the cake round to help hold the cake in place. Optionally, place four long rectangular pieces of parchment paper around the top edges of the surface (ie. the cake round or cake turntable) to create the outline of a square.
These strips will keep the surface clean. The strips will be removed once decorating is finished. Place the first cake on the surface.
Use the least flat cake as the base. Optionally, flip the cake upside down, so the flatter part is at the top. If the cake will contain a filling, such as a fruit compote:
Fit the piping bag with the piping tip. Using a spatula, scoop the icing into the piping bag. Pipe the icing in a circle around the top edge of the cake, about 1/4" from the edge.
This will create a barrier for the filling. Scoop the filling onto the cake. Spread the filling out evenly so it covers the entire top of the cake. Using an offset spatula, scoop some icing on top of the filling.
If the cake will not contain a filling:
Using an offset spatula, scoop about 1-2 cups icing on top of the cake. Using an offset spatula, spread the icing as evenly as possible until it is about 1/2" thick.
It doesn't need to look nice, but it should still be flat. Place the second cake on top of the first cake so that the flatter part of the second cake is at the top. Optionally, if the sides of the cake are not even, use a serrated knife to trim the sides. Crumb coat
The purpose of the crumb coat is to lock in the crumbs (to prevent them showing on the outer layer), fill in cracks, and shape the cake. It doesn't need to look pretty, but getting the right shape is important.
Using a pastry brush, very gently brush the cake to remove any loose crumbs. Using an offset spatula, scoop some icing on top of the cake. Using an offset spatula, swipe the icing across the top of the cake to create a thin layer.
For a crumb coat, you will be able to see the cake underneath. Move the spatula the cake; don't lift it. Once the top of the cake is covered and icing is falling down the edges, the top is done. Using an offset spatula, apply a thin layer of icing to the sides of the cake, starting at the bottom. Hold the offset spatula vertically so it is just touching the side of the cake at a 45-90 degree angle. While keeping the spatula still, rotate the cake turntable to scrape excess icing off the sides and create a smooth surface. Apply some light pressure.
When icing the cake (not for the crumb coat), after each turn, dip the spatula in a pot of simmering hot water to warm it up. Wipe dry completely. Do not add the "dirty" icing back into the "clean" icing, because it will contain crumbs. If there are any holes, cover them with icing and smooth it out again. You may need to repeat this several times. To reduce the number of seams, start with your hand gripping the turntable at the point farthest away from you, and rotate the turntable as close to 360 degrees as possible. Using the offset spatula, swipe excess icing around the top edge of the cake towards the centre. Using the offset spatula, smooth out the top of the cake. Chill the cake in the fridge for 30 minutes (or until the icing is firm and dry and doesn't come off when you touch it).
Icing a cake
Remove the cake from the fridge. Scoop the remaining icing on top of the cake.
You may want to reserve about 1-2 cups of icing for decoration, such as piping a border around the top or bottom edges. Repeat the steps for the crumb coat, but use a thicker layer of icing (about 1/8" thick) so the cake doesn't show through. After the icing is dry, remove the cake from the fridge and decorate. Chill the cake in the fridge for another 30 minutes (or until the icing is firm and dry and doesn't come off when you touch it). Remove the cake from the fridge. Slowly pull the parchment paper out from under the cake. Transfer the cake (including the cake round) from the turntable to the box/stand/plate.
Slowly slide an offset spatula underneath the cake round all the way around the edges to loosen the cake from the surface. Slide the offset spatula under one side of the cake to lift it up. While still lifting the cake, slide one hand underneath the cake to grip it. Slide your other hand underneath the cake, and using both hands, slowly transfer the cake to the box/stand/plate. Before setting the cake down, ensure it is positioned properly, and then slide the spatula underneath to gently set it in place.